

If you've just agreed to coach a volleyball team, you probably have more questions than answers. Where do you keep track of your players, how do you set a lineup, and what on earth do you do at the first practice? A volleyball coaching app can take a lot of that pressure off, but only if it's easy to set up. The good news is that getting started doesn't have to take an evening. In this guide we walk through the first steps with Koach, from creating your team to preparing your first practice, in roughly the time it takes to drink a coffee.
Step One: Create Your Account and Team
Start by visiting koachvolleyball.com and setting up your account. Once you're in, the first thing to create is your team. Give it a name that makes sense to you, such as the club name and age group, especially if you might coach more than one team later. This team becomes the home for everything else: your players, your lineups, your practices and your match stats. There's no need to fill in every detail at this stage. The aim of the first few minutes is simply to get the structure in place so you can start adding real information and see how the pieces fit together.
Step Two: Add Your Players
Next, add your players to the roster. For each one, enter their name, position and jersey number. If you don't know positions yet, which is common with a new youth team, that's fine. You can update them as you get to know the group. The roster is worth getting right because everything else draws from it. When you build a lineup, you'll choose from these players. When you track attendance or stats, it's the same list. Doing it once, carefully, saves you from typing names again later and keeps your information consistent across the whole season.
Step Three: Build Your First Lineup
With your players in place, try building a lineup. If you're new to volleyball systems, start with something simple. Many beginner teams use a 4-2, with two setters, because it's easier to learn than a 5-1. Place your players in their starting positions and then look at how the lineup moves through each rotation. Seeing it visually helps you spot problems, like two weaker passers standing next to each other in serve receive. Don't worry about making it perfect. The point is to get familiar with how lineups work, and you can adjust it as often as you like before the first match.
Step Four: Plan Your First Practice
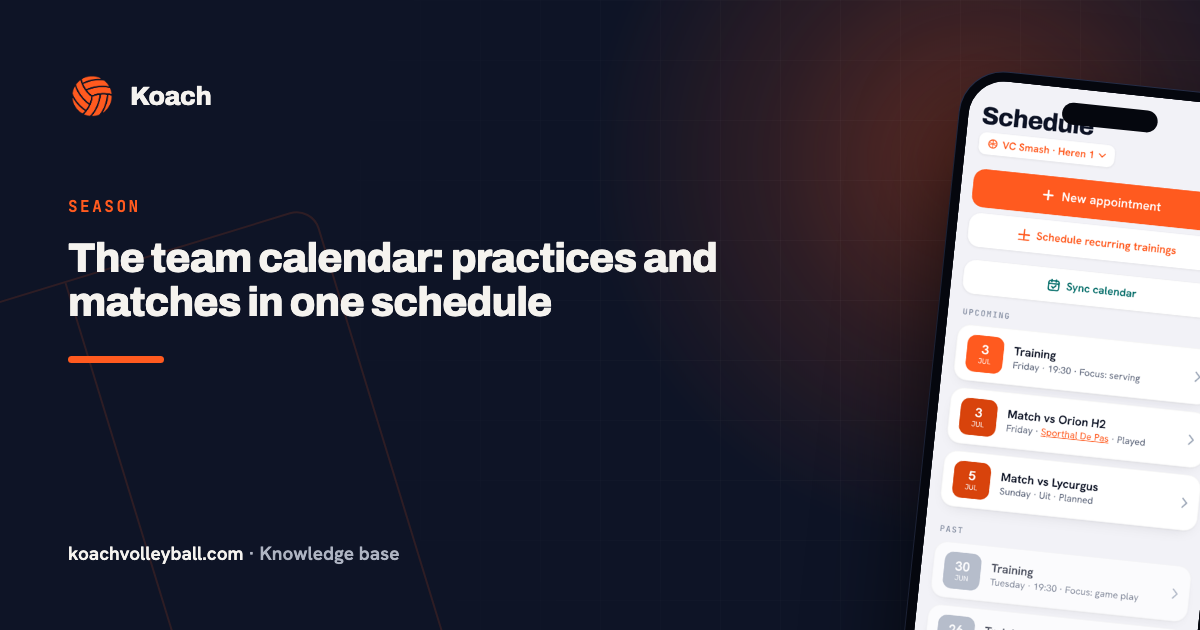
Your first practice sets the tone for the season, so a simple plan helps. Think about warm-up, a few basic skill drills for passing and serving, and a short game at the end so players can enjoy themselves. Save the plan in the app so you can look back at it later and build on it. After the practice, mark attendance. It only takes a moment, and over a few weeks it gives you a clear picture of who's showing up regularly. Planning in the app also means that if another coach helps out, they can see exactly what you intended to cover.
Growing from There
Once these basics are set, you're ready to coach. Over the next few weeks you can start tracking a few simple stats during matches, try different lineups and build a small library of drills that work for your team. There's no need to use every feature from day one. Many coaches begin with the roster and lineups, then add stats and practice planning when they feel comfortable. Ten minutes gets you started, and the app grows with you as your confidence as a coach grows. Most importantly, it frees up your attention for the players, which is the part of coaching that really matters.

 English
 French
 Spanish
 Portuguese
 Deutsch
 Turkish
 Dutch
Dutch
 Italiano
 Russian
 Romaian
 Portuguese (Brazil)