
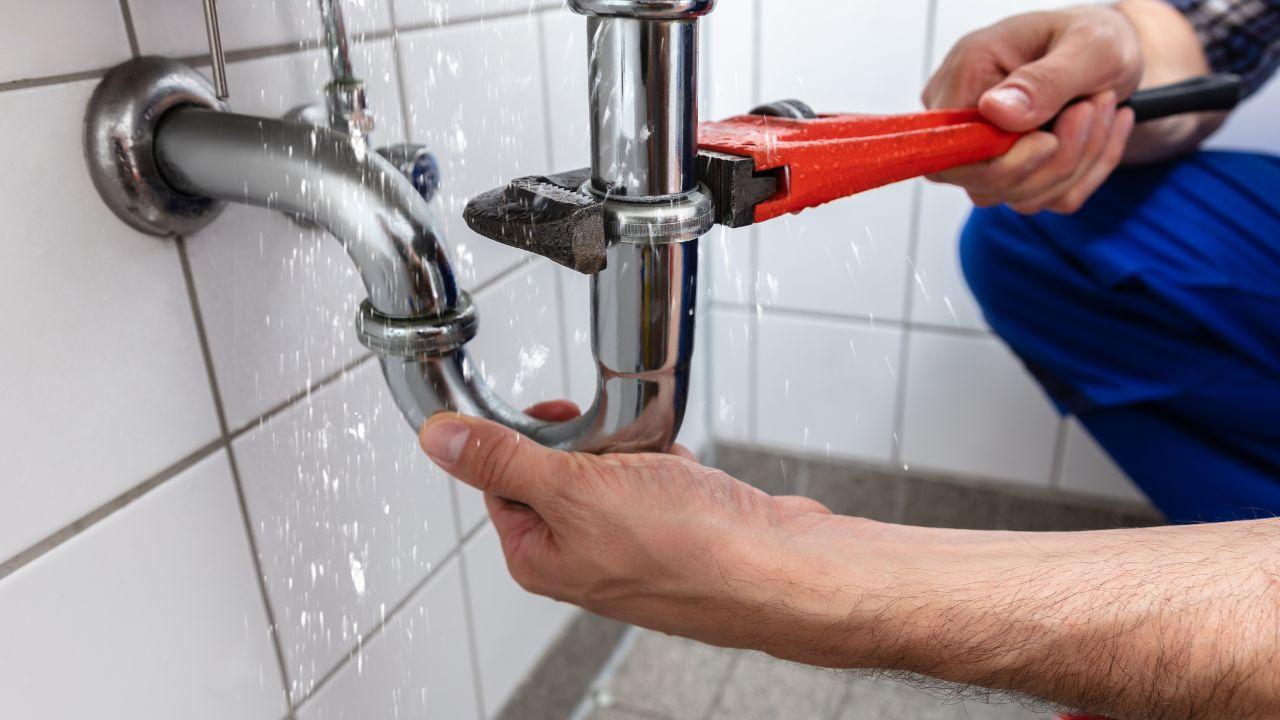
Bathroom tiles are designed to protect your home from water damage, but when they crack or become damaged, even the smallest fissure can lead to serious problems. Many homeowners and property managers in Singapore only notice leaks when water stains appear on ceilings or floors, by which time the damage may already be extensive. According to local maintenance reports, over 35% of bathroom water leakage cases in residential and commercial properties are linked directly to cracked or damaged tiles. Understanding how these issues occur and how to address them is critical to maintaining a safe, dry, and long-lasting bathroom.
Why Cracked or Damaged Tiles Lead to Bathroom Water Leakage
Tiles may appear purely aesthetic, but they are the first line of defense against moisture. Any compromise in their surface can allow water to penetrate, causing hidden damage beneath the tiles.
The Role of Tiles in Bathroom Waterproofing
Bathroom tiles, when properly installed, create a waterproof barrier along with grout and sealant. They prevent water from seeping into the substrate and the structural components of walls and floors. A broken or cracked tile disrupts this barrier, creating pathways for water to enter.
Common Causes of Tile Damage
Tiles can crack or chip for several reasons, including sudden impact from dropped objects, natural wear and tear, shifting of the building structure, or improper installation. In Singapore’s humid climate, repeated exposure to moisture can also weaken adhesive materials, making tiles more susceptible to cracking.
Consequences of Ignoring Damaged Tiles
When cracked tiles are left unrepaired, water begins to seep through the gaps, reaching the waterproofing membrane and even penetrating walls or floors. This can result in:
-
Structural damage, including weakened floorboards and wall cavities
-
Mold and mildew growth, which poses health risks
-
Staining and peeling paint on walls and ceilings
-
Higher repair costs due to the spread of water damage
Identifying Cracked or Damaged Tiles Early
Early detection is crucial to preventing extensive water leakage. Homeowners and property managers should look for:
-
Visible cracks, chips, or broken tiles
-
Loose tiles that shift when stepped on
-
Discoloration or damp patches on surrounding grout
-
Musty odors indicating hidden moisture
Regular inspections, especially in high-traffic or wet areas, can help catch problems before they escalate.
How to Fix Cracked or Damaged Bathroom Tiles
Addressing cracked or damaged tiles promptly can prevent major bathroom water leakage issues. Here’s a step-by-step approach used by professionals at Allseal Waterproofing PTE Ltd.
1. Remove the Damaged Tile Carefully
Use appropriate tools to lift the damaged tile without affecting surrounding tiles. For large areas, professionals may remove multiple tiles to ensure a proper repair.
2. Clean and Prepare the Surface
After removal, clean the substrate of any debris, old adhesive, or grout. Ensuring a smooth, stable surface allows the new tile to adhere properly and restores the waterproofing barrier.
3. Apply Waterproofing Primer or Membrane
Before placing the new tile, apply a thin layer of waterproofing primer or a localized waterproofing membrane. This step reinforces protection against Bathroom Water Leakage and prevents future seepage.
4. Install the Replacement Tile
Apply fresh adhesive and position the new tile carefully. Make sure it aligns perfectly with surrounding tiles to maintain a seamless surface.
5. Regrout and Seal the Joints
Once the tile adhesive has set, fill the gaps with grout and apply a sealant over the edges. Sealing the joints is essential to ensure water cannot penetrate beneath the tile.
6. Allow Proper Curing Time
Ensure the adhesive, grout, and sealant have fully cured before exposing the area to water. This step is vital for long-lasting results and leak prevention.
Preventive Measures to Avoid Tile-Related Water Leakage
Prevention is always better than repair. Property owners can take several steps:
-
Use high-quality, durable tiles suitable for high-moisture areas
-
Ensure professional installation with proper adhesive and grout
-
Inspect tiles regularly for early signs of cracks or loosening
-
Maintain sealant around tiles and reapply as needed
-
Avoid heavy impact or dropping objects on tiled surfaces
External Resources for Further Reference
For more information on tile maintenance and bathroom waterproofing:
-
https://www.buildings.com/articles/43799/preventing-bathroom-leaks
-
https://www.hunker.com/13401647/how-to-fix-cracked-tiles
-
https://www.familyhandyman.com/project/how-to-replace-a-broken-tile/
These resources provide additional guidance on spotting and repairing damaged tiles effectively.
Conclusion
Cracked or damaged tiles may seem minor, but they are a leading cause of Bathroom Water Leakage in Singapore. Ignoring them can result in structural damage, mold growth, and costly repairs. By identifying issues early and following proper repair techniques, including tile replacement, waterproofing reinforcement, and joint sealing, property owners can protect their bathrooms from leaks and extend the life of their surfaces. Regular maintenance, inspections, and professional interventions from experts like Allseal Waterproofing PTE Ltd ensure that bathrooms remain dry, safe, and fully functional for years to come.

 Arabic
 French
 Spanish
 Portuguese
 Deutsch
 Turkish
 Dutch
Dutch
 Italiano
 Russian
 Romaian
 Portuguese (Brazil)