• U4GM Explains How to Beat Blackjaw, the Remnant in PoE 2

    Blackjaw, the Remnant, is an optional boss in Act 3 of Path of Exile 2. Hidden inside Jiquani's Machinarium, this powerful warrior combines heavy melee strikes with dangerous fire attacks that can quickly punish careless players. You can skip the fight and continue the campaign, but defeating him grants a permanent resistance bonus that remains useful as you progress. Before spending your POE 2 Currency on equipment upgrades, consider tackling this encounter for a free character improvement.

    Where to Find Blackjaw in POE 2

    Blackjaw is located in The Oubliette, a sealed arena within Jiquani's Machinarium. Since zone layouts can vary, you should explore carefully instead of relying on a fixed route.

    Follow these steps to reach the boss:

    1. Explore Jiquani's Machinarium and look for a Small Soul Core.
    2. Find the sealed chamber containing a Stone Altar and a nearby checkpoint.
    3. Place the Small Soul Core into the altar to unlock the entrance.
    4. Enter the arena and approach the central statue to awaken Blackjaw.

    As soon as the fight begins, move behind him to avoid his opening fire breath. This is a useful lesson for the entire encounter: staying directly in front of Blackjaw makes many of his attacks harder to avoid.

    Blackjaw's Main Attacks and How to Dodge Them

    Blackjaw hits hard, but his attack animations provide clear opportunities to reposition. Instead of trading blows, watch his movements and attack when he finishes a sequence.

    • Frontal weapon swings: Move around his side or back rather than standing directly in front of him.
    • Overhead slam: Watch for him raising his weapon behind his head, then dodge before it lands.
    • Three-hit slam combo: Later in the fight, his slam can develop into three consecutive strikes that send shockwaves forward. Keep moving and don't rush back in after dodging the first hit.
    • Leap slam: Prepare to dodge when he jumps toward you. The landing covers a considerable area.
    • Fire-infused weapon sweep: When Blackjaw breathes fire onto his weapon, get behind him before the subsequent frontal attack.

    Players who plan to buy POE 2 Currency for stronger gear should remember that better equipment helps, but learning these attack patterns is often more important than adding a small amount of damage.

    How to Survive the Fire Projectile Phase

    Blackjaw's fire-ring sequence is the most important mechanic to recognize. He ignites the ground around himself before launching multiple fiery projectiles. Staying close during this phase can be dangerous, even if you have been successfully attacking from behind.

    Use the arena's pillars for protection:

    • Watch for the ground ignition and prepare to retreat.
    • Move behind a corner pillar to block the incoming fire projectiles.
    • Remain in cover until the projectile sequence ends.
    • Return to close range and resume attacking during his recovery.

    Be careful, though: pillars block the projectiles, but they won't protect you from his slam shockwaves. Once the fire phase ends, pay attention to his next animation rather than immediately rushing forward.

    Recommended Preparation and Rewards

    You don't need an elaborate build to defeat Blackjaw, but a few preparations can make the fight easier.

    • Fire resistance: Helps reduce the danger of his fire-based attacks.
    • Physical mitigation: Provides additional protection against his heavy melee strikes.
    • Reliable damage: Short attack windows are safer than long combos that leave you exposed.
    • Good movement: Keep enough room to dodge his leaps and multi-hit slam sequences.

    If you need cheap POE 2 Currency, prioritize practical defensive upgrades rather than spending everything on damage. Surviving long enough to learn his patterns is usually the better investment.

    Defeating Blackjaw for the first time rewards you with The Flame Core. Consume it to gain +10% Fire Resistance permanently. This increases your fire resistance, not your maximum fire resistance, making it a straightforward and valuable campaign reward.

    As a trusted gaming service platform, U4GM helps players stay up to date with Path of Exile 2 guides and in-game details. Visit https://www.u4gm.com/path-of-exile-2/currency for exclusive deals and services to upgrade your Path of Exile 2 experience.
    U4GM Explains How to Beat Blackjaw, the Remnant in PoE 2 Blackjaw, the Remnant, is an optional boss in Act 3 of Path of Exile 2. Hidden inside Jiquani's Machinarium, this powerful warrior combines heavy melee strikes with dangerous fire attacks that can quickly punish careless players. You can skip the fight and continue the campaign, but defeating him grants a permanent resistance bonus that remains useful as you progress. Before spending your POE 2 Currency on equipment upgrades, consider tackling this encounter for a free character improvement. Where to Find Blackjaw in POE 2 Blackjaw is located in The Oubliette, a sealed arena within Jiquani's Machinarium. Since zone layouts can vary, you should explore carefully instead of relying on a fixed route. Follow these steps to reach the boss: 1. Explore Jiquani's Machinarium and look for a Small Soul Core. 2. Find the sealed chamber containing a Stone Altar and a nearby checkpoint. 3. Place the Small Soul Core into the altar to unlock the entrance. 4. Enter the arena and approach the central statue to awaken Blackjaw. As soon as the fight begins, move behind him to avoid his opening fire breath. This is a useful lesson for the entire encounter: staying directly in front of Blackjaw makes many of his attacks harder to avoid. Blackjaw's Main Attacks and How to Dodge Them Blackjaw hits hard, but his attack animations provide clear opportunities to reposition. Instead of trading blows, watch his movements and attack when he finishes a sequence. • Frontal weapon swings: Move around his side or back rather than standing directly in front of him. • Overhead slam: Watch for him raising his weapon behind his head, then dodge before it lands. • Three-hit slam combo: Later in the fight, his slam can develop into three consecutive strikes that send shockwaves forward. Keep moving and don't rush back in after dodging the first hit. • Leap slam: Prepare to dodge when he jumps toward you. The landing covers a considerable area. • Fire-infused weapon sweep: When Blackjaw breathes fire onto his weapon, get behind him before the subsequent frontal attack. Players who plan to buy POE 2 Currency for stronger gear should remember that better equipment helps, but learning these attack patterns is often more important than adding a small amount of damage. How to Survive the Fire Projectile Phase Blackjaw's fire-ring sequence is the most important mechanic to recognize. He ignites the ground around himself before launching multiple fiery projectiles. Staying close during this phase can be dangerous, even if you have been successfully attacking from behind. Use the arena's pillars for protection: • Watch for the ground ignition and prepare to retreat. • Move behind a corner pillar to block the incoming fire projectiles. • Remain in cover until the projectile sequence ends. • Return to close range and resume attacking during his recovery. Be careful, though: pillars block the projectiles, but they won't protect you from his slam shockwaves. Once the fire phase ends, pay attention to his next animation rather than immediately rushing forward. Recommended Preparation and Rewards You don't need an elaborate build to defeat Blackjaw, but a few preparations can make the fight easier. • Fire resistance: Helps reduce the danger of his fire-based attacks. • Physical mitigation: Provides additional protection against his heavy melee strikes. • Reliable damage: Short attack windows are safer than long combos that leave you exposed. • Good movement: Keep enough room to dodge his leaps and multi-hit slam sequences. If you need cheap POE 2 Currency, prioritize practical defensive upgrades rather than spending everything on damage. Surviving long enough to learn his patterns is usually the better investment. Defeating Blackjaw for the first time rewards you with The Flame Core. Consume it to gain +10% Fire Resistance permanently. This increases your fire resistance, not your maximum fire resistance, making it a straightforward and valuable campaign reward. As a trusted gaming service platform, U4GM helps players stay up to date with Path of Exile 2 guides and in-game details. Visit https://www.u4gm.com/path-of-exile-2/currency for exclusive deals and services to upgrade your Path of Exile 2 experience.
    0 Comments 0 Shares 325 Views
  • Round Brilliant Diamond Multi Row Bezel Set Dress Ring New
    $8600
    In stock
    Australia
    This Round Brilliant Diamond Multi Row Bezel Set Dress Ring is a bold and contemporary design, exquisitely crafted in 18Kt gold. Featuring multiple rows of round brilliant diamonds set in sleek bezels, the ring creates a modern aesthetic with a seamless flow of brilliance. The layered arrangement adds depth and dimension, while the bezel setting enhances both security and radiance, allowing each diamond to shine with captivating sparkle.
    Product details
    Gemstone: Natural Diamond
    Shape: Round Brilliant Cut
    Diamond Quantity: 15
    Total Diamond Weight: 1.78ct
    Address: Westfield, Shop 2074a Level 2/600 Kingsway, Miranda NSW 2228, Australia
    Phone: +61 2 9524 6390
    Email: miranda@midasjewellery.com.au
    Website: https://midasjewellery.com.au/products/round-brilliant-diamond-multi-row-bezel-set-dress-ring
    This Round Brilliant Diamond Multi Row Bezel Set Dress Ring is a bold and contemporary design, exquisitely crafted in 18Kt gold. Featuring multiple rows of round brilliant diamonds set in sleek bezels, the ring creates a modern aesthetic with a seamless flow of brilliance. The layered arrangement adds depth and dimension, while the bezel setting enhances both security and radiance, allowing each diamond to shine with captivating sparkle. Product details Gemstone: Natural Diamond Shape: Round Brilliant Cut Diamond Quantity: 15 Total Diamond Weight: 1.78ct Address: Westfield, Shop 2074a Level 2/600 Kingsway, Miranda NSW 2228, Australia Phone: +61 2 9524 6390 Email: miranda@midasjewellery.com.au Website: https://midasjewellery.com.au/products/round-brilliant-diamond-multi-row-bezel-set-dress-ring
    0 Comments 0 Shares 266 Views
  • How To Choose The Best Jcb Dealer For Multiple Machines?
    Are you planning to buy multiple JCB machines for your business or projects? Choosing the best JCB dealer can affect your machine selection, purchase process, service support, and future maintenance.
    https://guestcountry.com/@asthamehra12/how-to-choose-the-best-jcb-dealer-for-multiple-machines
    How To Choose The Best Jcb Dealer For Multiple Machines? Are you planning to buy multiple JCB machines for your business or projects? Choosing the best JCB dealer can affect your machine selection, purchase process, service support, and future maintenance. https://guestcountry.com/@asthamehra12/how-to-choose-the-best-jcb-dealer-for-multiple-machines
    GUESTCOUNTRY.COM
    How To Choose The Best Jcb Dealer For Multiple Machines? – GuestCountry
    Are you planning to buy multiple JCB machines for your business or projects? Choosing the best JCB dealer can affect your machine selection, purchase process, s
    0 Comments 0 Shares 195 Views
  • How can I plan a Shimla-Manali trip without packing and changing hotels every day?

    You can plan a Shimla-Manali trip without changing hotels every day by staying 2–3 nights in Shimla and 2–3 nights in Manali, using each as a base for nearby sightseeing.

    Instead of moving your luggage daily, choose hotels in convenient locations and plan local sightseeing from the same base. In Shimla, you can cover places such as Kufri, Mall Road and nearby attractions before moving towards Manali. In Manali, keep one hotel for multiple nights and explore Solang Valley, Hidimba Temple, Old Manali and nearby spots from there. Manali is well connected by road with Shimla and other Himachal destinations.

    For a smoother Shimla and Manali Tour, keep your itinerary flexible and avoid adding too many destinations. This gives you more time to enjoy the mountains instead of spending your holiday packing, checking out and checking in.

    Visit: https://shimlaandmanalitour.com/

    #shimlamanali, #himachaltrip, #shimlatour, #manalitour, #himachaltravel
    How can I plan a Shimla-Manali trip without packing and changing hotels every day? You can plan a Shimla-Manali trip without changing hotels every day by staying 2–3 nights in Shimla and 2–3 nights in Manali, using each as a base for nearby sightseeing. Instead of moving your luggage daily, choose hotels in convenient locations and plan local sightseeing from the same base. In Shimla, you can cover places such as Kufri, Mall Road and nearby attractions before moving towards Manali. In Manali, keep one hotel for multiple nights and explore Solang Valley, Hidimba Temple, Old Manali and nearby spots from there. Manali is well connected by road with Shimla and other Himachal destinations. For a smoother Shimla and Manali Tour, keep your itinerary flexible and avoid adding too many destinations. This gives you more time to enjoy the mountains instead of spending your holiday packing, checking out and checking in. Visit: https://shimlaandmanalitour.com/ #shimlamanali, #himachaltrip, #shimlatour, #manalitour, #himachaltravel
    0 Comments 0 Shares 450 Views
  • Play Free Games Online Casino Slots - FB777 Pro

    Online casinos have taken the gaming industry by storm, providing players with the convenience and thrill of gambling from the comfort of their homes. They can now play free games online casino slots and experience the thrill of this game. With multiple platforms offering a vast selection of games, seamless user experience, and lucrative bonuses.

    For More Information Visit Our Website: https://fb-777.pro/slots/

    #OnlineCasinoSlots
    Play Free Games Online Casino Slots - FB777 Pro Online casinos have taken the gaming industry by storm, providing players with the convenience and thrill of gambling from the comfort of their homes. They can now play free games online casino slots and experience the thrill of this game. With multiple platforms offering a vast selection of games, seamless user experience, and lucrative bonuses. For More Information Visit Our Website: https://fb-777.pro/slots/ #OnlineCasinoSlots
    0 Comments 0 Shares 588 Views
  • U4GM Tips for Diablo 4 Season 15 Blood Wave Necromancer

    Diablo 4 Season 15 gives Necromancers a powerful new way to play Blood skills, and the Blood Wave build is one of the most interesting options for endgame content. With the right setup, Blood Wave can be cast repeatedly instead of functioning like a typical long-cooldown Ultimate. That makes it possible to clear large groups quickly while still having enough defense to survive tougher encounters. Players looking to improve their gear progression can also use Diablo 4 Gold when preparing for a fully geared endgame character.

    How Blood Wave Works in Season 15

    The main item behind this build is Hematolagnia. It changes Blood Wave into an Essence-based skill, completely changing how the ability is used.

    Instead of waiting for an Ultimate cooldown, you can repeatedly cast Blood Wave as long as you have enough Essence. This creates a much faster combat loop:

    • Build and maintain Essence.

    • Position enemies in front of you.

    • Trigger Blood Wave when the pack is grouped.

    • Use resource-generating skills between casts.

    • Repeat the process while maintaining defensive buffs.

    This setup makes positioning much more important than simply stacking damage.

    Overpower and Red Blessing

    Season 15 also gives Blood builds a more active Overpower mechanic. Red Blessing lets Blood skills consume an Overpower stack to gain a significant multiplicative damage increase.

    For Blood Wave Necromancers, the goal is not simply to collect Overpower effects and wait. Instead, try to line up your Overpower window with a Blood Wave cast that can hit a large group of enemies. This can dramatically improve burst damage against elites and bosses.

    Players who need additional resources while upgrading their setup may also consider how to efficiently buy Diablo 4 Gold for gear-related progression.

    Kessime's Legacy Makes Blood Wave Stronger

    Kessime's Legacy is another major piece of the build. Its effect causes Blood Wave to create converging waves that pull enemies toward the center before exploding.

    This effect is especially useful in activities with dense enemy groups, including:

    • Helltides

    • Nightmare Dungeons

    • The Pit

    • High-density endgame events

    • Elite-heavy farming routes

    Rather than chasing individual enemies, you can gather several targets together and hit them with the same Blood Wave. This is one of the main reasons the build feels so satisfying during large-scale fights.

    Essence Management

    The biggest weakness of Blood Wave is its resource cost. In Season 15, Blood Wave requires 70 Essence, so repeatedly casting it without proper sustain will quickly empty your resource bar.

    Prioritize stats and effects such as:

    • Essence per Second

    • Resource Cost Reduction

    • Lucky Hit resource restoration

    • Maximum Essence

    • Resource regeneration effects

    Ring of Starless Skies can also reduce the pressure on your Essence pool and help maintain a smoother casting rhythm.

    For players still filling out their equipment, cheap Diablo 4 Gold can be useful when working toward a complete endgame setup.

    Recommended Combat Rotation

    Blood Wave Necromancer is strongest when you follow a simple but flexible rotation.

    1. Use Sever to engage enemies or generate a Corpse.

    2. Activate Blood Mist when you need protection or additional bonuses.

    3. Cast Decrepify to weaken enemies and improve control.

    4. Use Bone Prison when grouping or controlling enemies is helpful.

    5. Cast Blood Wave while enemies are tightly positioned.

    6. Use Reap or another resource tool when Essence becomes low.

    7. Repeat the cycle and look for the next Overpower opportunity.

    The build rewards good timing rather than mindlessly spamming one skill.

    As a trusted gaming service platform, U4GM helps players stay up to date with Diablo 4 guides, builds, and in-game details. Visit https://www.u4gm.com/diablo-4/gold for the latest deals and services to power up your Diablo 4 experience.
    U4GM Tips for Diablo 4 Season 15 Blood Wave Necromancer Diablo 4 Season 15 gives Necromancers a powerful new way to play Blood skills, and the Blood Wave build is one of the most interesting options for endgame content. With the right setup, Blood Wave can be cast repeatedly instead of functioning like a typical long-cooldown Ultimate. That makes it possible to clear large groups quickly while still having enough defense to survive tougher encounters. Players looking to improve their gear progression can also use Diablo 4 Gold when preparing for a fully geared endgame character. How Blood Wave Works in Season 15 The main item behind this build is Hematolagnia. It changes Blood Wave into an Essence-based skill, completely changing how the ability is used. Instead of waiting for an Ultimate cooldown, you can repeatedly cast Blood Wave as long as you have enough Essence. This creates a much faster combat loop: • Build and maintain Essence. • Position enemies in front of you. • Trigger Blood Wave when the pack is grouped. • Use resource-generating skills between casts. • Repeat the process while maintaining defensive buffs. This setup makes positioning much more important than simply stacking damage. Overpower and Red Blessing Season 15 also gives Blood builds a more active Overpower mechanic. Red Blessing lets Blood skills consume an Overpower stack to gain a significant multiplicative damage increase. For Blood Wave Necromancers, the goal is not simply to collect Overpower effects and wait. Instead, try to line up your Overpower window with a Blood Wave cast that can hit a large group of enemies. This can dramatically improve burst damage against elites and bosses. Players who need additional resources while upgrading their setup may also consider how to efficiently buy Diablo 4 Gold for gear-related progression. Kessime's Legacy Makes Blood Wave Stronger Kessime's Legacy is another major piece of the build. Its effect causes Blood Wave to create converging waves that pull enemies toward the center before exploding. This effect is especially useful in activities with dense enemy groups, including: • Helltides • Nightmare Dungeons • The Pit • High-density endgame events • Elite-heavy farming routes Rather than chasing individual enemies, you can gather several targets together and hit them with the same Blood Wave. This is one of the main reasons the build feels so satisfying during large-scale fights. Essence Management The biggest weakness of Blood Wave is its resource cost. In Season 15, Blood Wave requires 70 Essence, so repeatedly casting it without proper sustain will quickly empty your resource bar. Prioritize stats and effects such as: • Essence per Second • Resource Cost Reduction • Lucky Hit resource restoration • Maximum Essence • Resource regeneration effects Ring of Starless Skies can also reduce the pressure on your Essence pool and help maintain a smoother casting rhythm. For players still filling out their equipment, cheap Diablo 4 Gold can be useful when working toward a complete endgame setup. Recommended Combat Rotation Blood Wave Necromancer is strongest when you follow a simple but flexible rotation. 1. Use Sever to engage enemies or generate a Corpse. 2. Activate Blood Mist when you need protection or additional bonuses. 3. Cast Decrepify to weaken enemies and improve control. 4. Use Bone Prison when grouping or controlling enemies is helpful. 5. Cast Blood Wave while enemies are tightly positioned. 6. Use Reap or another resource tool when Essence becomes low. 7. Repeat the cycle and look for the next Overpower opportunity. The build rewards good timing rather than mindlessly spamming one skill. As a trusted gaming service platform, U4GM helps players stay up to date with Diablo 4 guides, builds, and in-game details. Visit https://www.u4gm.com/diablo-4/gold for the latest deals and services to power up your Diablo 4 experience.
    0 Comments 0 Shares 707 Views
  • Wise Money Transfer

    Wise Money Transfer is a digital solution for sending money between countries. It gives users access to transfer information such as the exchange rate, service fee, recipient amount, and estimated delivery time before a transaction is confirmed.

    The service can be useful for people who send money to family members abroad, receive payments from international clients, travel frequently, or manage cross-border business transactions. Multiple currencies are supported, although available services and transfer limits can vary by country.

    One useful feature is the ability to check the expected cost before completing a transfer. This helps users understand the transaction and compare the amount they send with the amount the recipient should receive.

    Transfer times can vary depending on the currency, destination, payment method, weekends, holidays, and required verification. Users should always confirm the latest fees and exchange rate directly before making a payment.

    With its digital approach and transparent transfer information, Wise Money Transfer can be a convenient option for people who regularly move money internationally.
    Wise Money Transfer Wise Money Transfer is a digital solution for sending money between countries. It gives users access to transfer information such as the exchange rate, service fee, recipient amount, and estimated delivery time before a transaction is confirmed. The service can be useful for people who send money to family members abroad, receive payments from international clients, travel frequently, or manage cross-border business transactions. Multiple currencies are supported, although available services and transfer limits can vary by country. One useful feature is the ability to check the expected cost before completing a transfer. This helps users understand the transaction and compare the amount they send with the amount the recipient should receive. Transfer times can vary depending on the currency, destination, payment method, weekends, holidays, and required verification. Users should always confirm the latest fees and exchange rate directly before making a payment. With its digital approach and transparent transfer information, Wise Money Transfer can be a convenient option for people who regularly move money internationally.
    Love
    1
    0 Comments 0 Shares 446 Views
  • Monopoly Go September 29 Guava Milestone 06 U4GM Strategy

    The Monopoly Go Racer Event is not the only activity worth preparing for on September 29. Guava Milestone 06 gives MONOPOLY GO players another chance to pick up Dice, Cash, Sticker Packs, and event currency simply by playing the board. Since the event is available for a limited time, using your rolls carefully is more important than trying to clear every milestone as quickly as possible.

    How Guava Milestone 06 Works

    Guava Milestone 06 follows the standard solo milestone format. Players earn points by landing on specific spaces or completing the actions listed on the event banner. The scoring targets can change between events, so check the in-game event page before deciding how aggressively to roll.

    Depending on the active scoring system, useful spaces may include:

    • Pickup tiles
    • Chance spaces
    • Community Chest
    • Railroad spaces
    • Other event-specific targets

    Every scoring action adds points to your personal milestone track. Reach a required number of points and the corresponding reward becomes available.

    Check the Rewards Before Rolling

    Do not start spending a large pile of Dice without checking the milestone track first. The early rewards are usually easier to reach, while later milestones require considerably more points.

    Players should look for rewards such as:

    • Free Dice
    • Cash
    • Sticker Packs
    • Temporary boosts
    • Event-specific currency
    • Larger milestone prizes

    If the next useful reward is several milestones away, saving Dice for another event may be more sensible. This is particularly important if you are planning to buy Monopoly Go Racer Event resources and want to keep enough currency available for upcoming activities.

    Use Multipliers Carefully

    The Dice multiplier is one of the easiest ways to waste resources during a milestone event. A high multiplier can produce a large number of points when you hit a scoring space, but it also consumes Dice much faster when your roll misses.

    A practical approach is to:

    1. Use a lower multiplier while moving through ordinary board spaces.
    2.Increase the multiplier when a scoring target is within a useful range.
    3. Take advantage of clusters where several active events can reward the same roll.
    4. Lower the multiplier again when your Dice supply starts getting uncomfortable.

    There is no guaranteed roll pattern, so avoid increasing the multiplier simply because you have not hit a scoring space recently.

    Make Railroad Rolls Count

    Railroads can become especially valuable when they award Guava Milestone 06 points. They may also contribute to a tournament or other active event at the same time.

    A single Railroad landing can potentially advance multiple reward tracks through Shutdowns or Bank Heists. When several events overlap, check their scoring requirements before rolling so you know which spaces currently have the most value.

    This is one reason experienced players often avoid treating a solo milestone as a separate activity. The same Dice can sometimes contribute toward several objectives at once.

    Complete Quick Wins and Free Gifts

    You do not need to spend hundreds of Dice to make progress. Daily Quick Wins are an easy source of extra resources and should be completed before the daily reset whenever possible.

    Also remember to check the Shop for its free daily gift. These small rewards can add up during a short event, especially when you are trying to preserve your main Dice balance.

    Before the event ends, check:

    • Quick Wins progress
    • Free Shop gift
    • Unclaimed milestone rewards
    • Tournament timer
    • Other active event timers
    • Plan Around Monster Mash

    Guava Milestone 06 takes place during the Monster Mash season, so its rewards can have value beyond the milestone track itself. Extra Dice can help with later tournaments, Sticker Packs can contribute toward album progress, and seasonal currency may support other limited-time activities.

    If you are saving resources for a future Monopoly Go Racer Event buy, avoid spending your entire balance just to reach one additional Guava milestone. Compare the next reward with your remaining Dice and the events scheduled to follow.

    With Monopoly Go Racer Event buy planning in mind, Guava Milestone 06 can be a useful resource-building window rather than another event that drains your Dice. Play around the active scoring spaces, take advantage of overlapping rewards, and save your strongest resources for the activities that offer the most useful returns.
    Monopoly Go September 29 Guava Milestone 06 U4GM Strategy The Monopoly Go Racer Event is not the only activity worth preparing for on September 29. Guava Milestone 06 gives MONOPOLY GO players another chance to pick up Dice, Cash, Sticker Packs, and event currency simply by playing the board. Since the event is available for a limited time, using your rolls carefully is more important than trying to clear every milestone as quickly as possible. How Guava Milestone 06 Works Guava Milestone 06 follows the standard solo milestone format. Players earn points by landing on specific spaces or completing the actions listed on the event banner. The scoring targets can change between events, so check the in-game event page before deciding how aggressively to roll. Depending on the active scoring system, useful spaces may include: • Pickup tiles • Chance spaces • Community Chest • Railroad spaces • Other event-specific targets Every scoring action adds points to your personal milestone track. Reach a required number of points and the corresponding reward becomes available. Check the Rewards Before Rolling Do not start spending a large pile of Dice without checking the milestone track first. The early rewards are usually easier to reach, while later milestones require considerably more points. Players should look for rewards such as: • Free Dice • Cash • Sticker Packs • Temporary boosts • Event-specific currency • Larger milestone prizes If the next useful reward is several milestones away, saving Dice for another event may be more sensible. This is particularly important if you are planning to buy Monopoly Go Racer Event resources and want to keep enough currency available for upcoming activities. Use Multipliers Carefully The Dice multiplier is one of the easiest ways to waste resources during a milestone event. A high multiplier can produce a large number of points when you hit a scoring space, but it also consumes Dice much faster when your roll misses. A practical approach is to: 1. Use a lower multiplier while moving through ordinary board spaces. 2.Increase the multiplier when a scoring target is within a useful range. 3. Take advantage of clusters where several active events can reward the same roll. 4. Lower the multiplier again when your Dice supply starts getting uncomfortable. There is no guaranteed roll pattern, so avoid increasing the multiplier simply because you have not hit a scoring space recently. Make Railroad Rolls Count Railroads can become especially valuable when they award Guava Milestone 06 points. They may also contribute to a tournament or other active event at the same time. A single Railroad landing can potentially advance multiple reward tracks through Shutdowns or Bank Heists. When several events overlap, check their scoring requirements before rolling so you know which spaces currently have the most value. This is one reason experienced players often avoid treating a solo milestone as a separate activity. The same Dice can sometimes contribute toward several objectives at once. Complete Quick Wins and Free Gifts You do not need to spend hundreds of Dice to make progress. Daily Quick Wins are an easy source of extra resources and should be completed before the daily reset whenever possible. Also remember to check the Shop for its free daily gift. These small rewards can add up during a short event, especially when you are trying to preserve your main Dice balance. Before the event ends, check: • Quick Wins progress • Free Shop gift • Unclaimed milestone rewards • Tournament timer • Other active event timers • Plan Around Monster Mash Guava Milestone 06 takes place during the Monster Mash season, so its rewards can have value beyond the milestone track itself. Extra Dice can help with later tournaments, Sticker Packs can contribute toward album progress, and seasonal currency may support other limited-time activities. If you are saving resources for a future Monopoly Go Racer Event buy, avoid spending your entire balance just to reach one additional Guava milestone. Compare the next reward with your remaining Dice and the events scheduled to follow. With Monopoly Go Racer Event buy planning in mind, Guava Milestone 06 can be a useful resource-building window rather than another event that drains your Dice. Play around the active scoring spaces, take advantage of overlapping rewards, and save your strongest resources for the activities that offer the most useful returns.
    0 Comments 0 Shares 578 Views
  • A general-interest platform publishing articles across multiple news and information categories. Explore its content here: https://feedypost.com
    A general-interest platform publishing articles across multiple news and information categories. Explore its content here: https://feedypost.com
    0 Comments 0 Shares 370 Views
  • Maxim Air – Professional HVAC & VRV Air Conditioning Services New
    $1
    In stock
    Australia
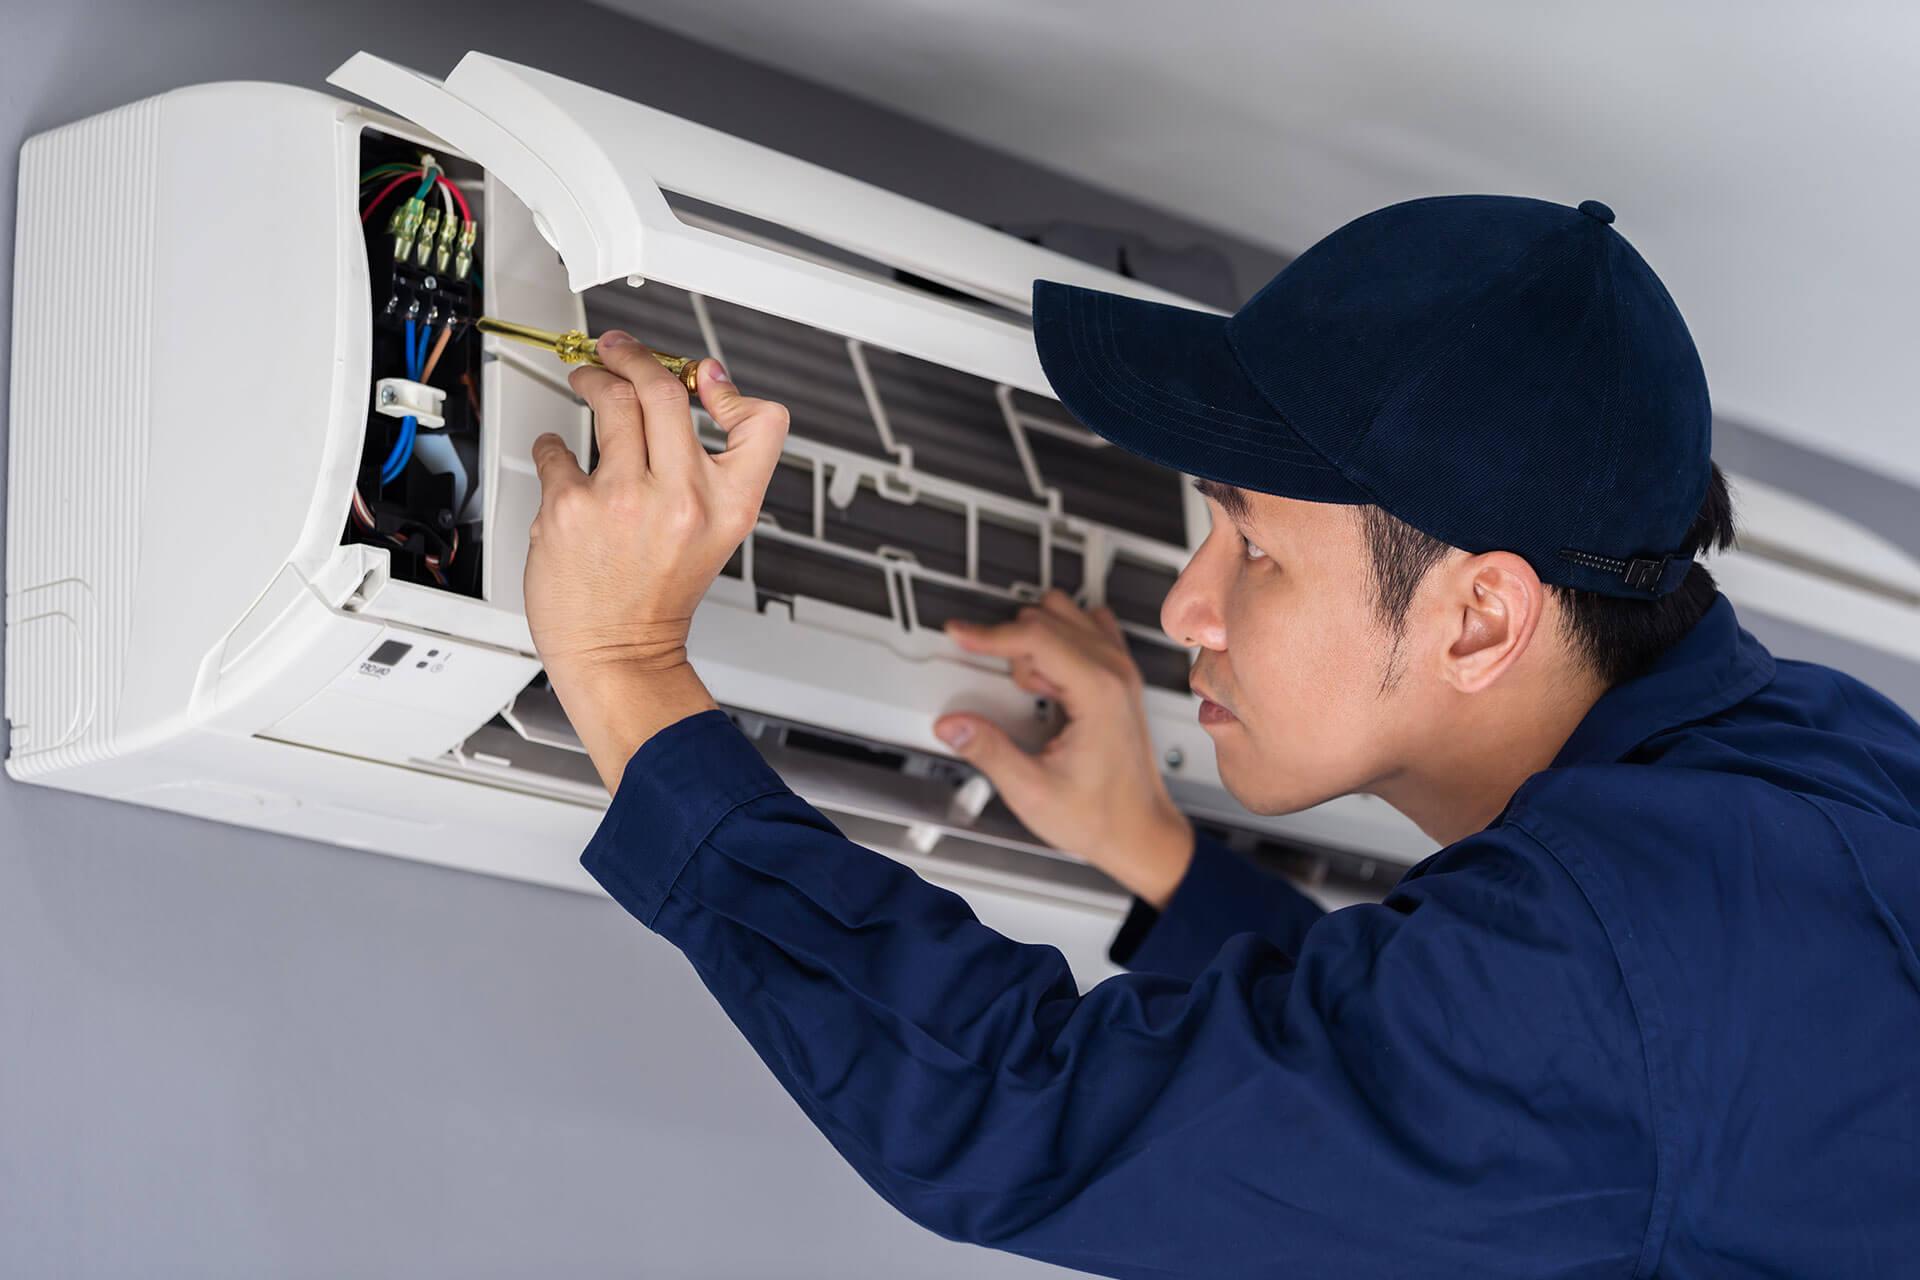
    Looking for reliable heating, ventilation and air conditioning solutions across Sydney’s North Shore? Maxim Air provides professional HVAC services for homes, offices, commercial properties and other spaces. Our experienced team focuses on practical solutions, quality workmanship and dependable climate control tailored to each property.

    We provide HVAC services in Chatswood, Gables, West Pennant Hills, Milsons Point, Cremorne, Glenorie and Hornsby, helping customers maintain comfortable and efficient indoor environments throughout the year. Whether you need a new installation, system upgrade, maintenance or professional advice, our team can assist with your requirements.

    Maxim Air also specialises in VRV air conditioning across the North Shore, offering flexible solutions for properties that require efficient temperature control across multiple rooms or zones. From VRV North Shore solutions to general HVAC requirements, we work to deliver systems that suit the size, layout and usage of your property.

    If you are searching for dependable HVAC services in Chatswood, HVAC services in Gables, HVAC services in West Pennant Hills, HVAC services in Milsons Point, HVAC services in Cremorne, HVAC services in Glenorie, or HVAC services in Hornsby, Maxim Air is ready to help.

    Choose Maxim Air for professional HVAC and VRV air conditioning solutions designed around comfort, performance and long-term reliability.

    Visit Now - https://maximair.com.au/
    Looking for reliable heating, ventilation and air conditioning solutions across Sydney’s North Shore? Maxim Air provides professional HVAC services for homes, offices, commercial properties and other spaces. Our experienced team focuses on practical solutions, quality workmanship and dependable climate control tailored to each property. We provide HVAC services in Chatswood, Gables, West Pennant Hills, Milsons Point, Cremorne, Glenorie and Hornsby, helping customers maintain comfortable and efficient indoor environments throughout the year. Whether you need a new installation, system upgrade, maintenance or professional advice, our team can assist with your requirements. Maxim Air also specialises in VRV air conditioning across the North Shore, offering flexible solutions for properties that require efficient temperature control across multiple rooms or zones. From VRV North Shore solutions to general HVAC requirements, we work to deliver systems that suit the size, layout and usage of your property. If you are searching for dependable HVAC services in Chatswood, HVAC services in Gables, HVAC services in West Pennant Hills, HVAC services in Milsons Point, HVAC services in Cremorne, HVAC services in Glenorie, or HVAC services in Hornsby, Maxim Air is ready to help. Choose Maxim Air for professional HVAC and VRV air conditioning solutions designed around comfort, performance and long-term reliability. Visit Now - https://maximair.com.au/
    0 Comments 0 Shares 724 Views
More Results